> For the complete documentation index, see [llms.txt](https://help.iodd.kr/llms.txt). Markdown versions of documentation pages are available by appending `.md` to page URLs; this page is available as [Markdown](https://help.iodd.kr/aes256-encryption-mini/set-remove-encryption-mini.md).
# Set/Remove Encryption (MINI)
How to set or remove AES256 hardware encryption on the legacy IODD MINI.
This guide explains how to enable or disable AES256 hardware encryption on the legacy IODD MINI. Use it when you need to set a new encryption PIN, remove encryption, or prepare the MINI before using virtual drive features.
{% hint style="danger" %}
Setting or removing encryption initializes the disk and deletes existing data. Back up all important files before continuing.
{% endhint %}
## Set Password
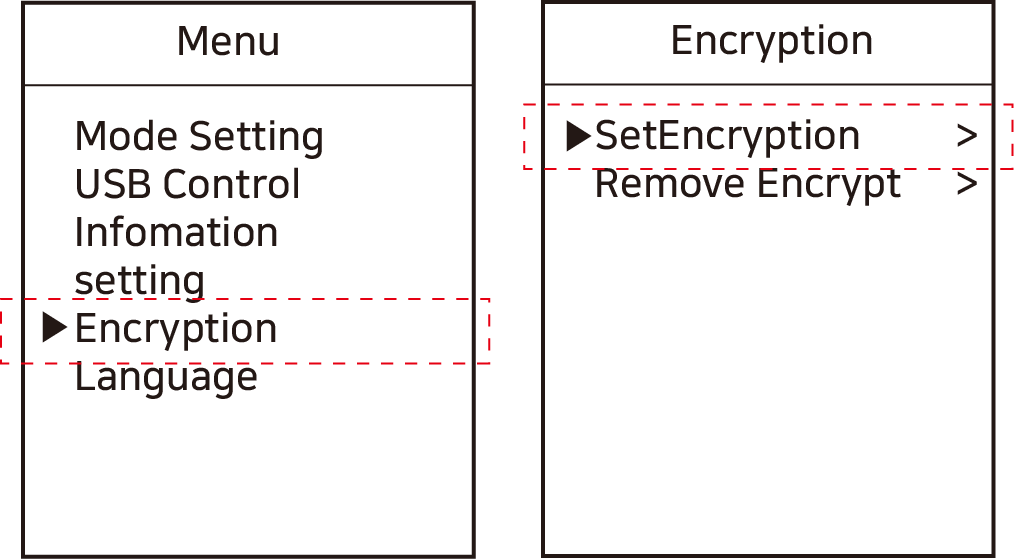
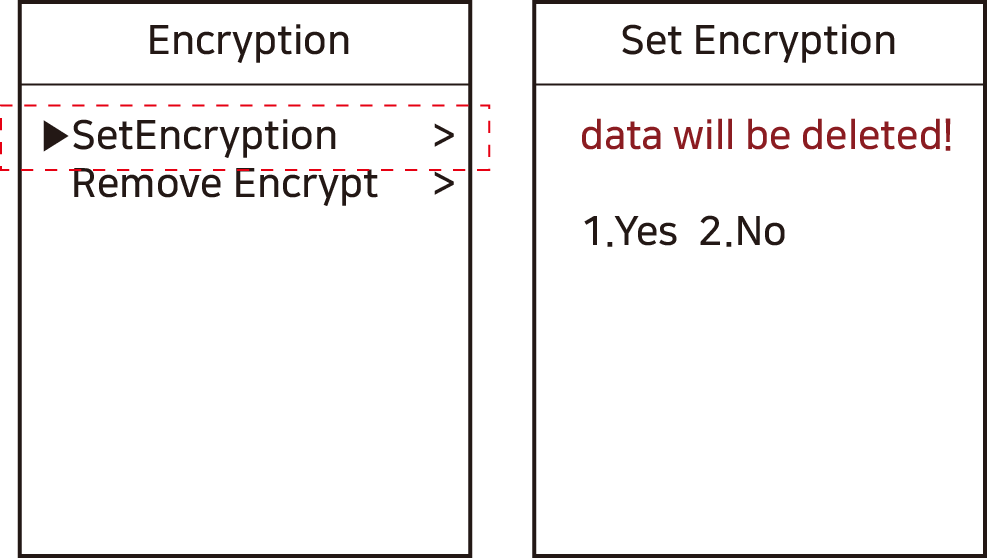
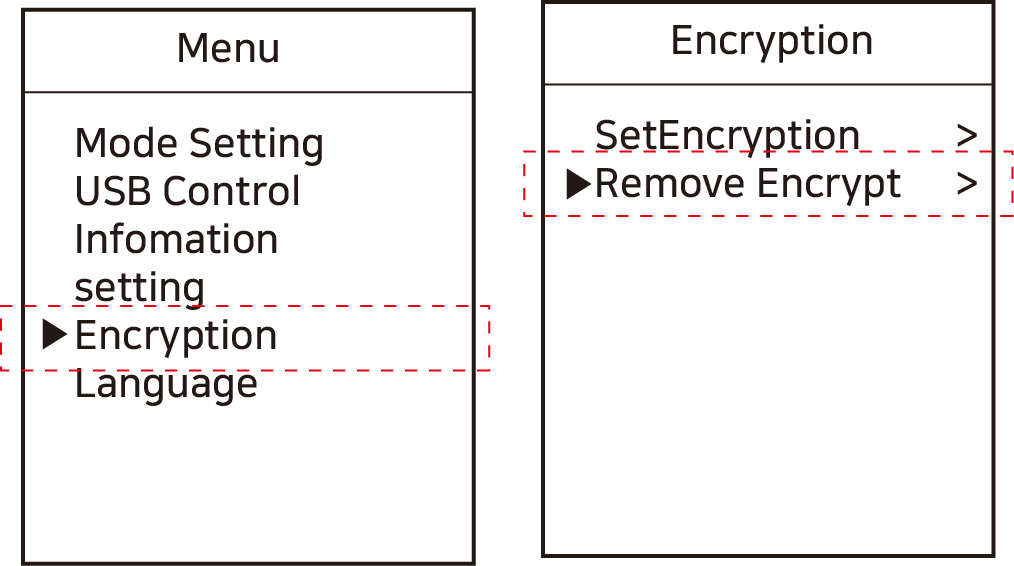
**1.** Press the Menu button to select the **\[Encryption] \[SetEncryption]** menu.
**2.** Check Caution Message
{% hint style="danger" %}
**Data Deletion Warning** When setting or removing the password, all disk data will be deleted. Please back up all necessary data before proceeding.
{% endhint %}
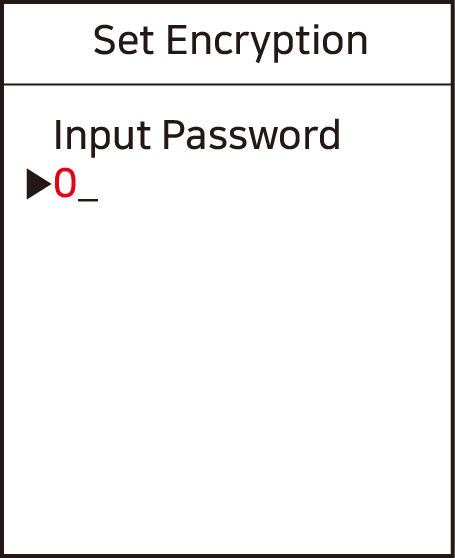
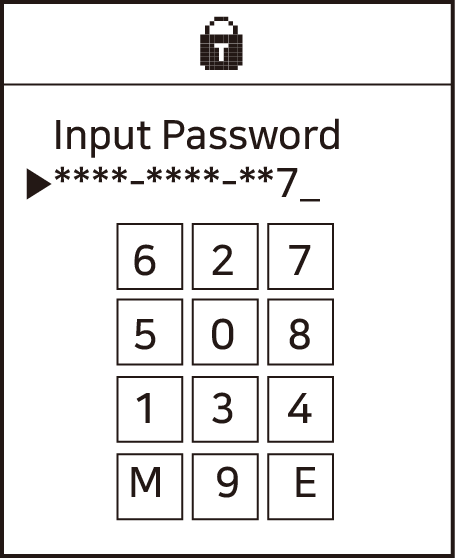
**3.** Enter the password **twice.**
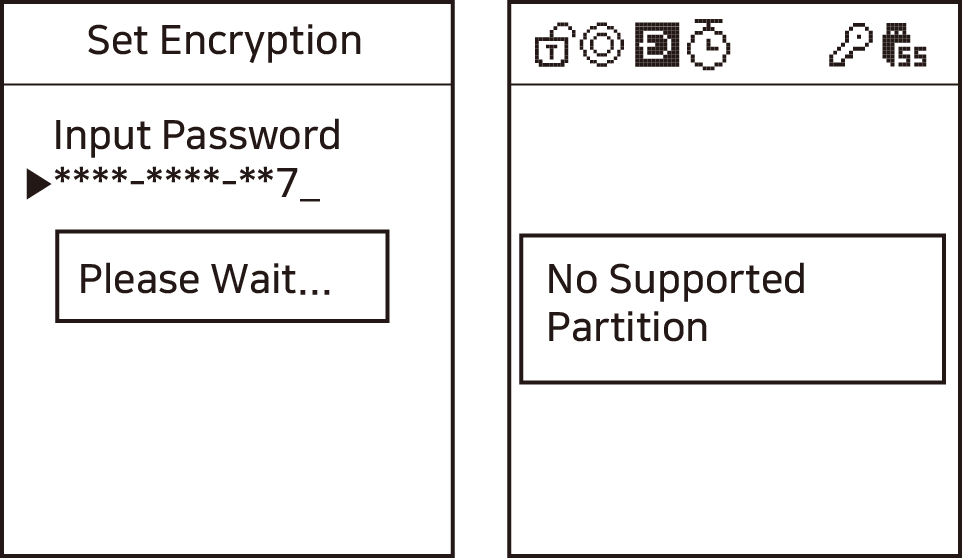
**4.** Enter the setup password twice and wait for the process to finish. The disk is initialized when setting the password, and the device may display **\[no appropriate partition]**.
**5.** When IODD is reconnected, it requires the ***password***.
## Remove Encryption
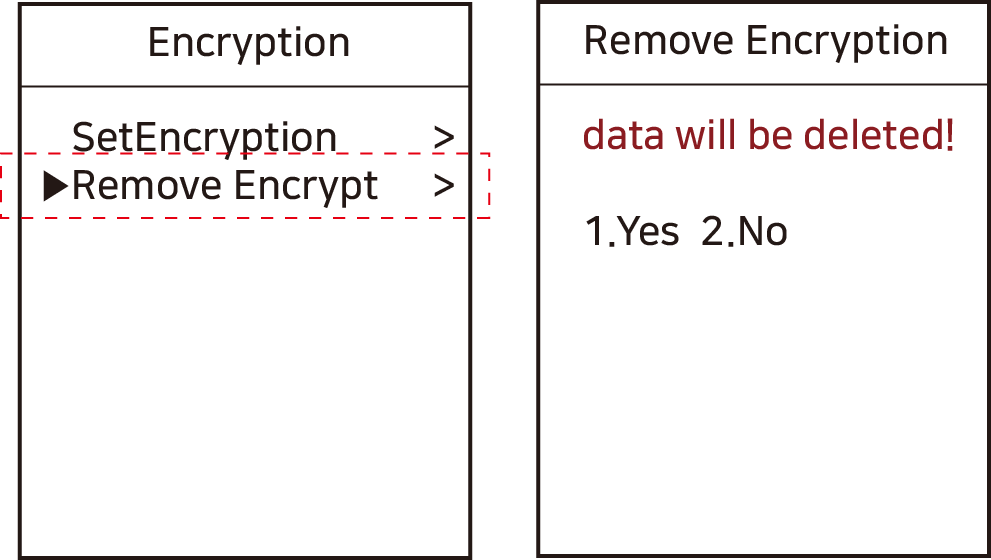
**1.** Press the Menu button to select the **\[Encryption] \[RemoveEncrypt]** menu.
**2.** Check Caution Message
{% hint style="danger" %}
**Data Deletion Warning** When setting or removing the password, all disk data will be deleted. Please back up all necessary data before proceeding.
{% endhint %}
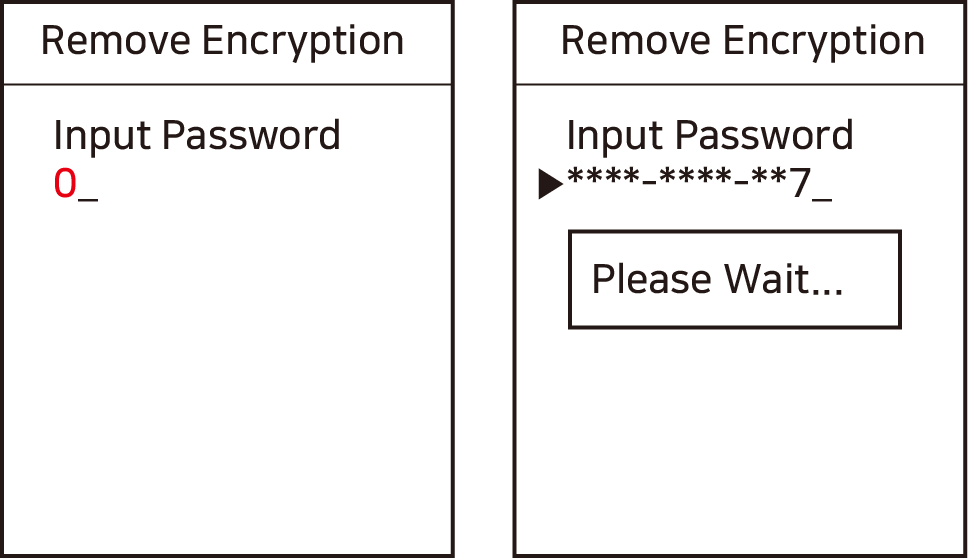
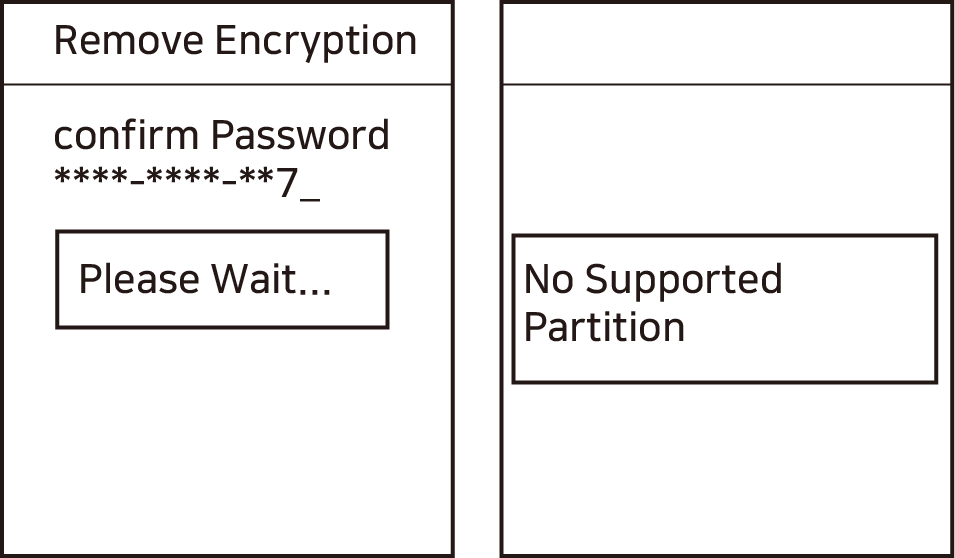
**3.** Enter the password **twice.**
**4.** Enter the password twice and wait for the process to finish. The disk is initialized when removing the password, and the device may display **\[no appropriate partition]**.
## Use Virtual Drive with Encryption
After encryption setup is complete, follow the [Drive Setup](/bootable-virtual-drive/drive-setup.md) guide to prepare ISO, VHD, or other virtual drive files.